The complete journey
After the first three gestures: what Zenoba does end to end, one chapter at a time. Each stands alone, and is marked done when the gesture is made — not when the page is read.
Fifteen minutes: the three chapters marked “the essentials”
1 · Create your workspace
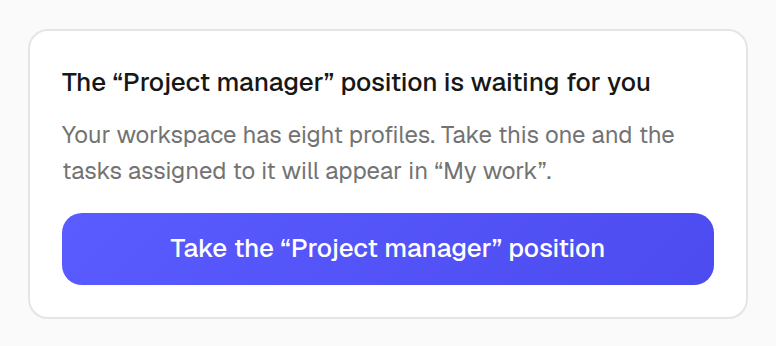
the essentialsThe industry you pick installs the modules, the domain lists and eight positions — eight chairs to fill, not eight people. That is what lets you plan before you know who will do the work.
A position is a seat, not a person. Zenoba guessed what your team would be made of; only the people are missing.
Done when a project exists in your workspace.
- 1.Name your workspace
- 2.Choose your role if you want tailored suggestions
- 3.Create your first project with the assistant
- 4.Invite the people who need to contribute
- 5.Set access project by project
2 · Document the company
Fifteen records describe your organization: profile, infrastructure, security, contracts, constraints. Drop a document — a tender, a policy, an inventory — and what is extracted fills the records, citing its source. This is where the AI gets its context for every plan.
Done when at least one company record holds a value.
- 1.Open a record to see what it expects and what is missing
- 2.Drop a document (tender, policy, contract): what is extracted fills the record and cites its source
- 3.Or paste free text, if you have no file at hand
- 4.Correct by hand whatever the extraction misread — you always decide
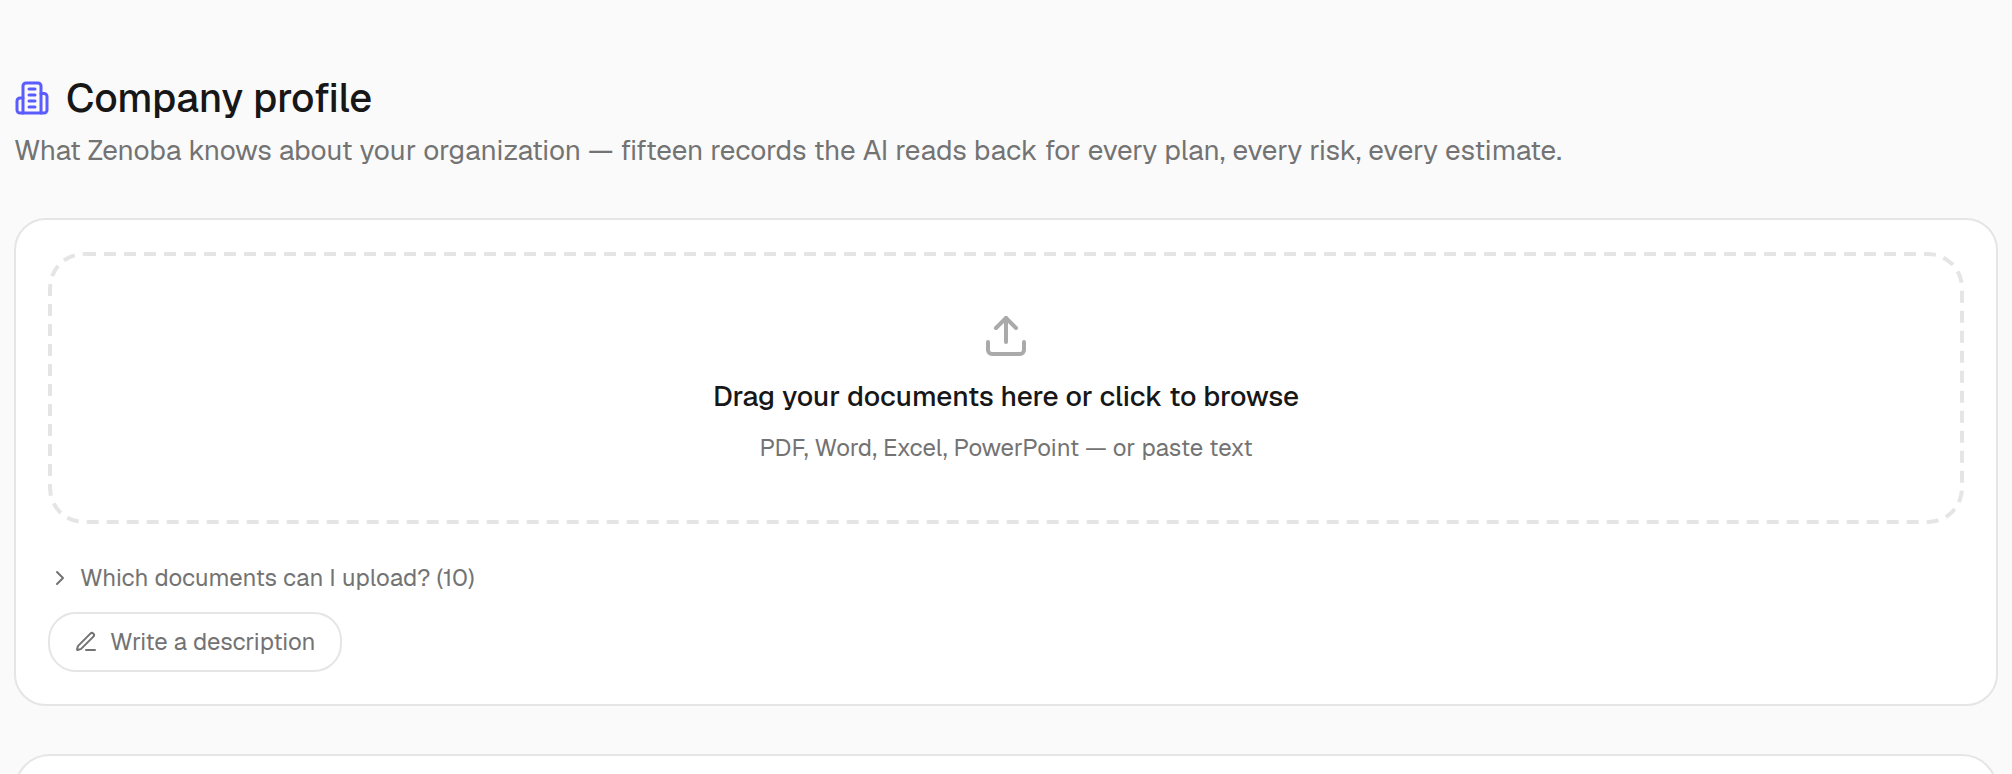
- 1A document — tender, policy, inventory
- 2Or plain text, if you have no file
3 · Document the project
Ten records per project, and an assistant that asks for what is missing instead of waiting for a filled form. Drop the specification or the kick-off notes: the document is kept, read, and what it teaches goes into the records.
Done when a document has been dropped on the project.
- 1.Drop what you have: specification, tender, kick-off notes
- 2.The document is kept, read, and what it teaches goes into the project records
- 3.The collection then names what is still missing, record by record
- 4.Answer it, or declare that a point does not apply
- 5.The rest of the hub follows: governance, planning, integrations
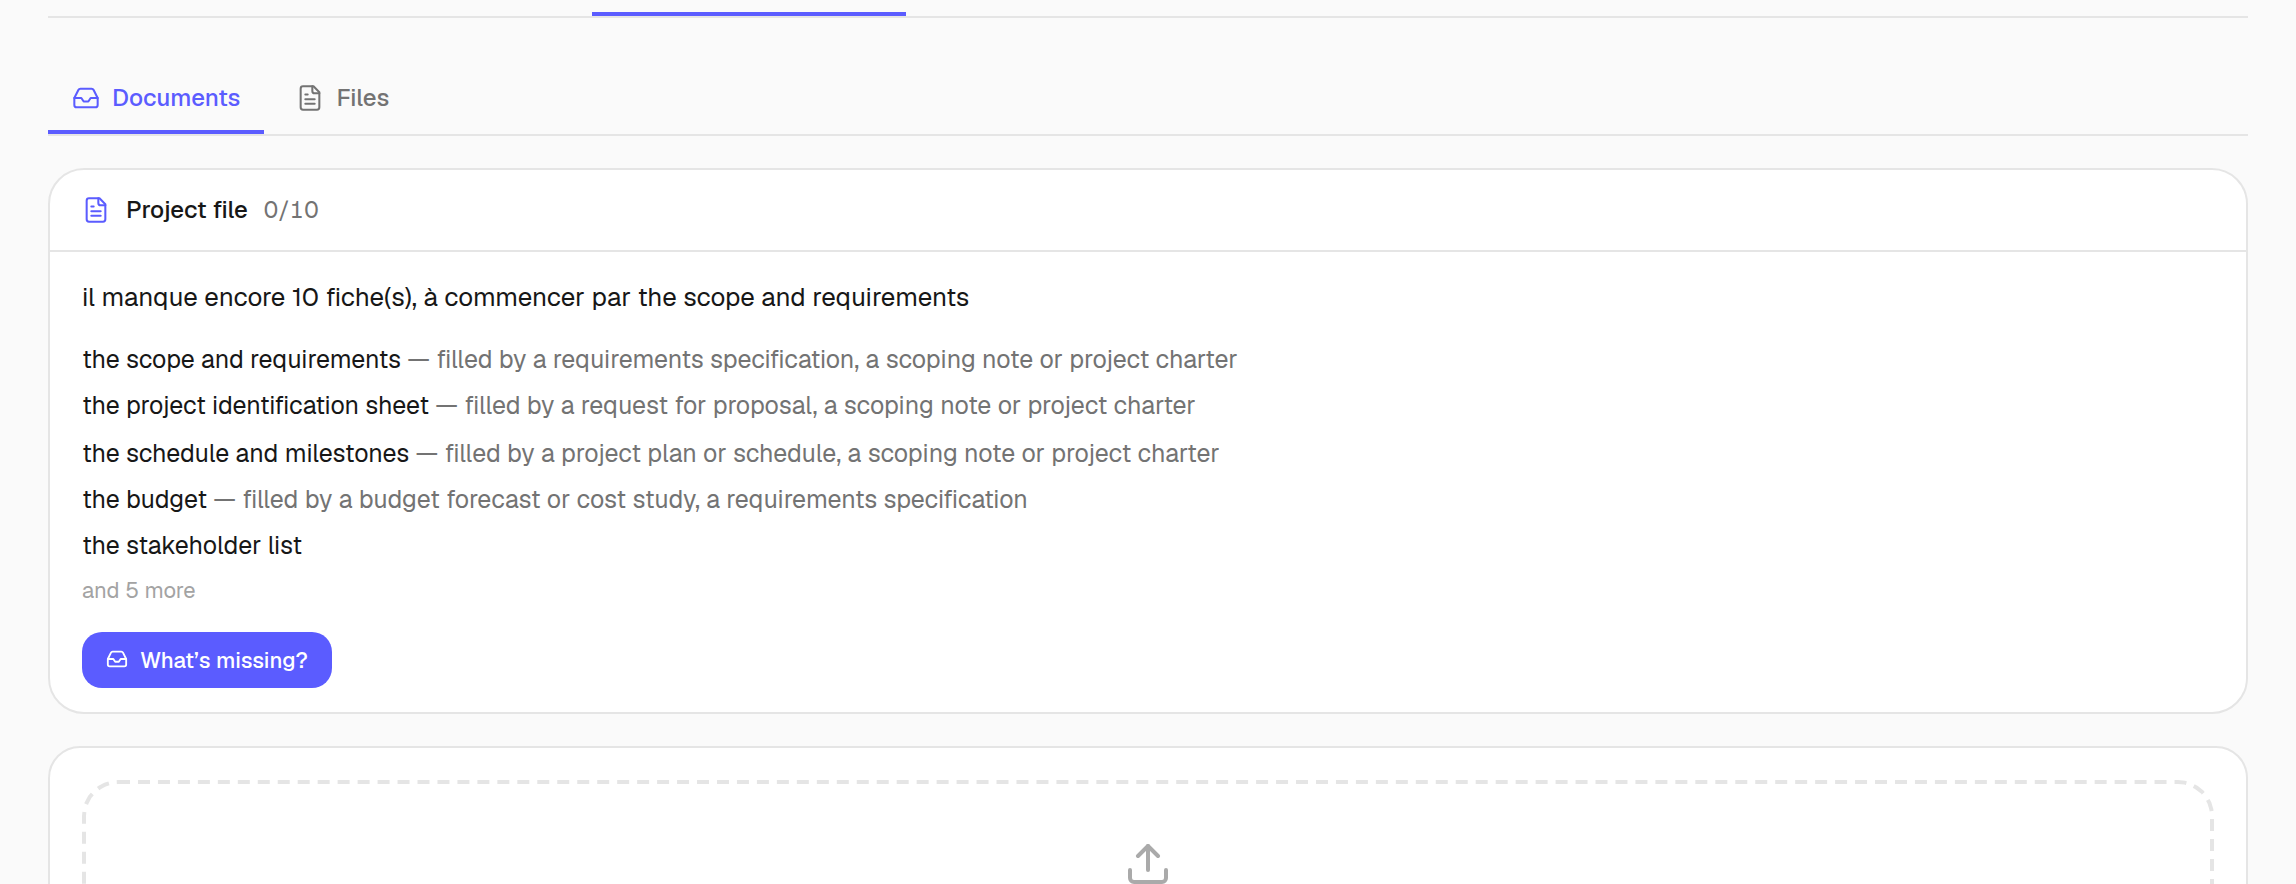
- 1What is still missing, named record by record
4 · Generate the plan
The assistant reads your description AND the documents you give it, then returns phases, tasks, dependencies and an “Initial plan” baseline. You keep, you correct, you undo — nothing is irreversible.
Done when a plan has been generated for a project.
- 1.Describe your project in a few sentences
- 2.Upload project documents (optional)
- 3.Choose the type, duration and team size
- 4.Click Generate plan
- 5.Review the preview of generated tasks
- 6.Click Create project to finalize
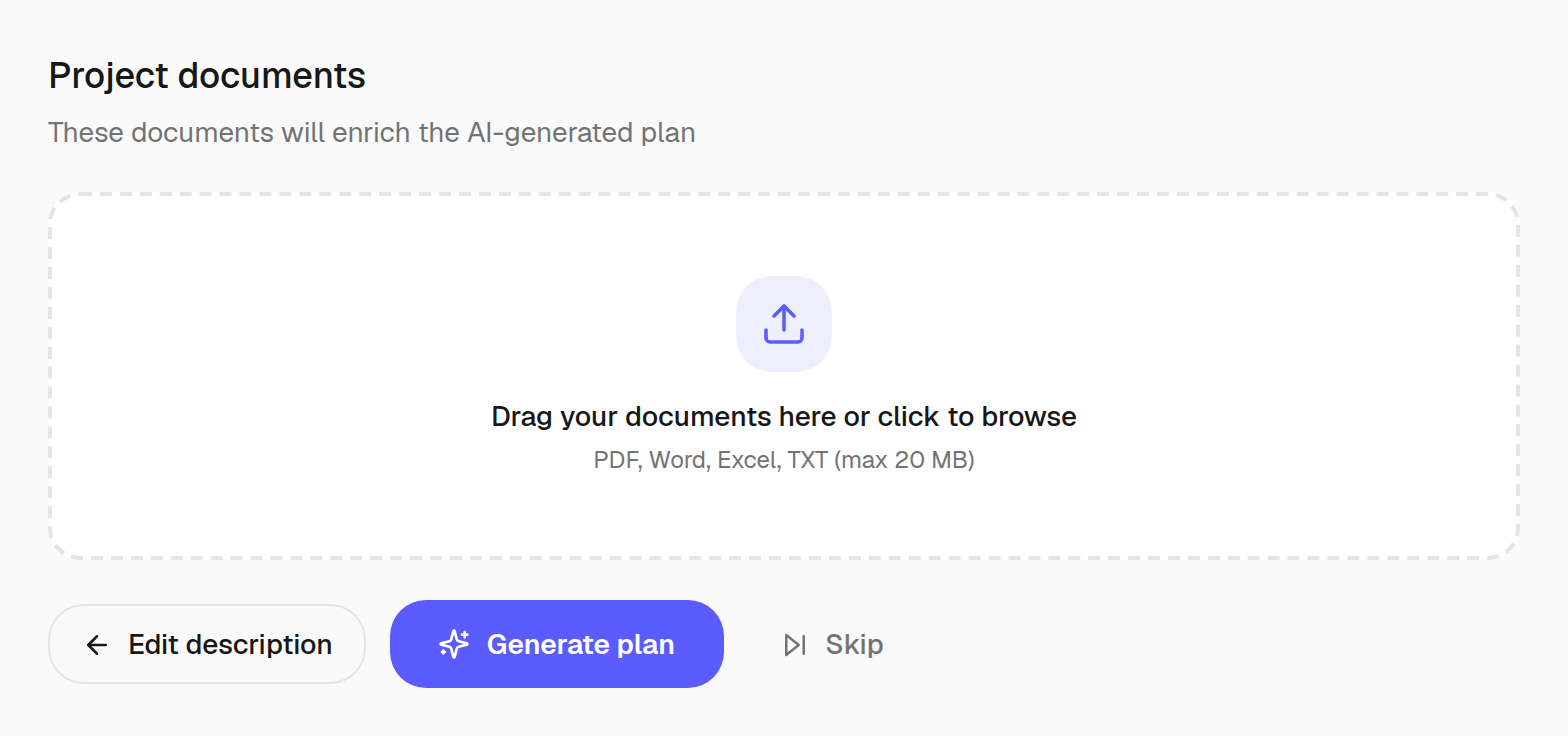
- 1What the assistant will read before writing the plan
- 2And it returns phases, tasks and dependencies
5 · People and positions
the essentialsThe directory holds both: the people, and the chairs still empty. Domain, seniority, daily rate. “Fill” hands the holder everything the chair carried — tasks, projects, calendars.
They sign in, and their work is already waiting.
Done when a position has been filled.
- 1.Invite someone or create a position to fill across the workspace
- 2.For assignment or removal limited to one project, use Project > Team
- 3.“Positions to fill” isolates vacant chairs; “Pending” groups invitations to resend
- 4.A staffing request states a project need; Capacity compares availability across projects
- 5.For a workspace departure, open the person: Zenoba shows transferred work and preserved history before confirmation
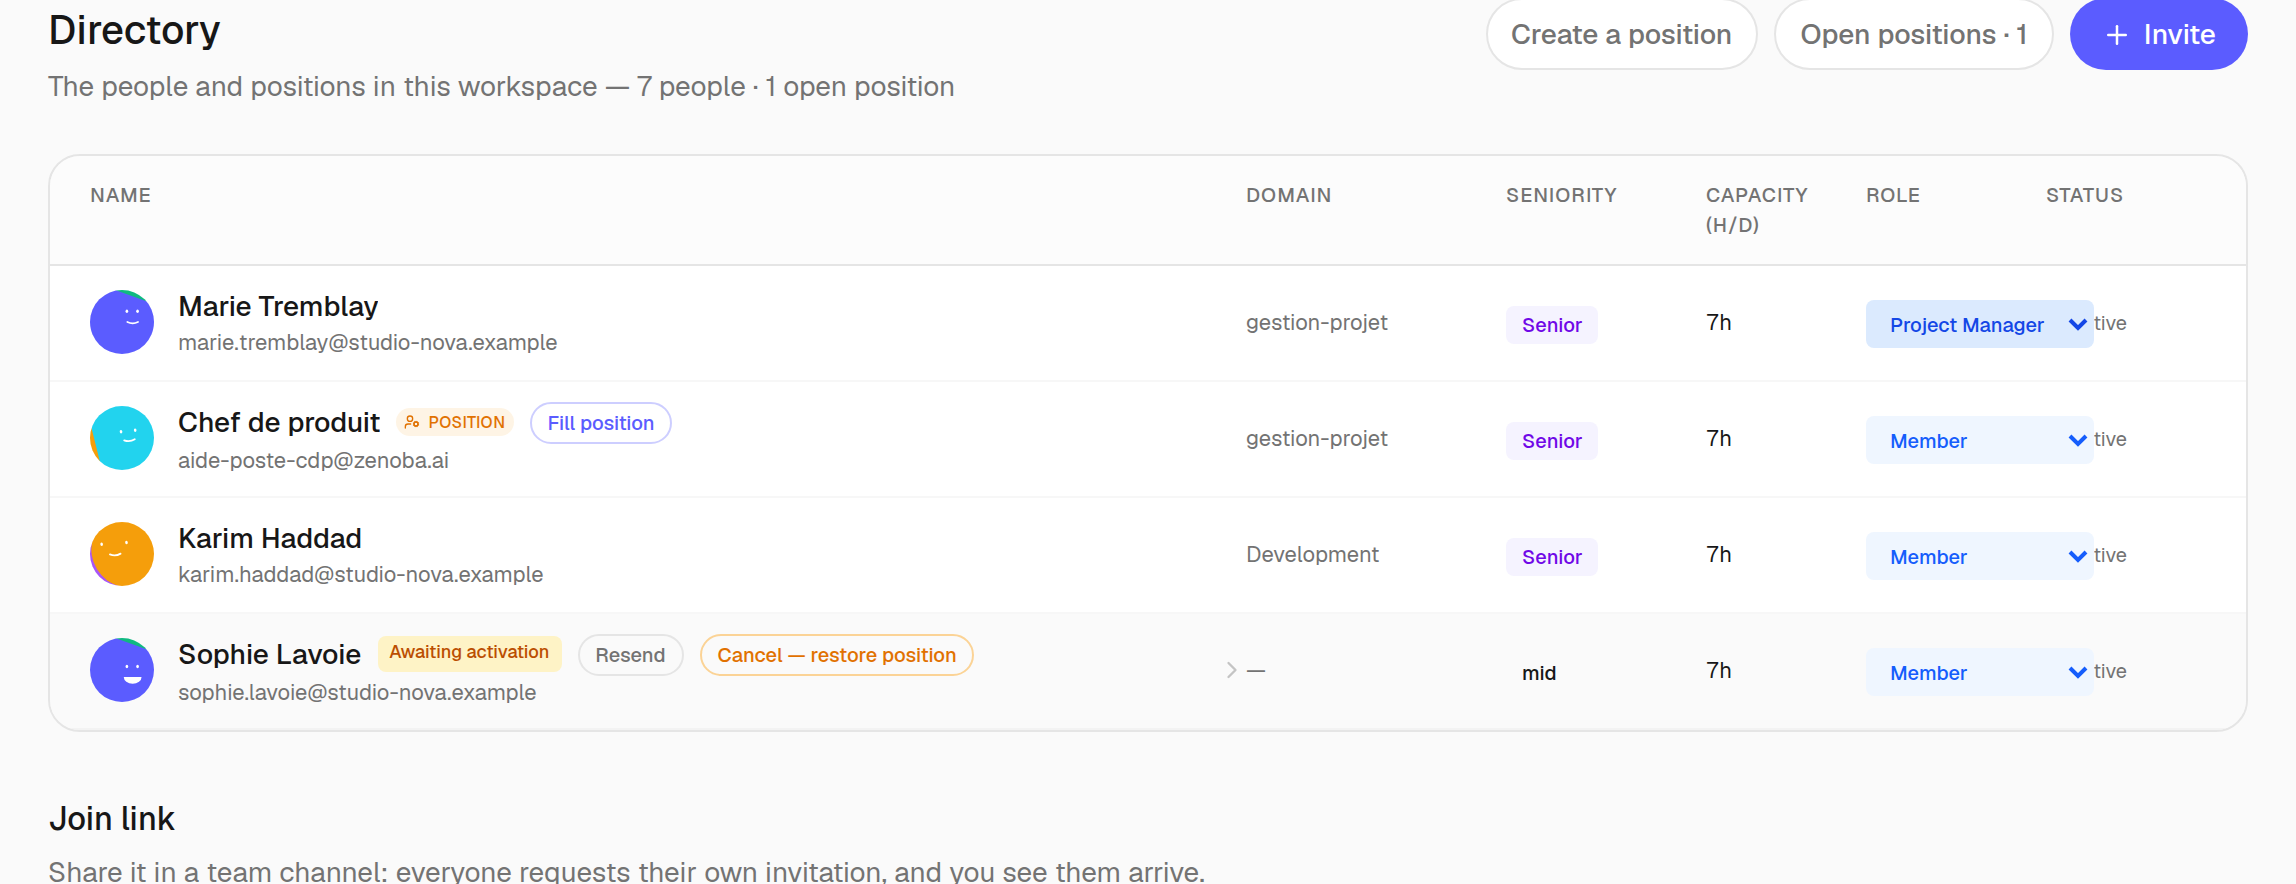
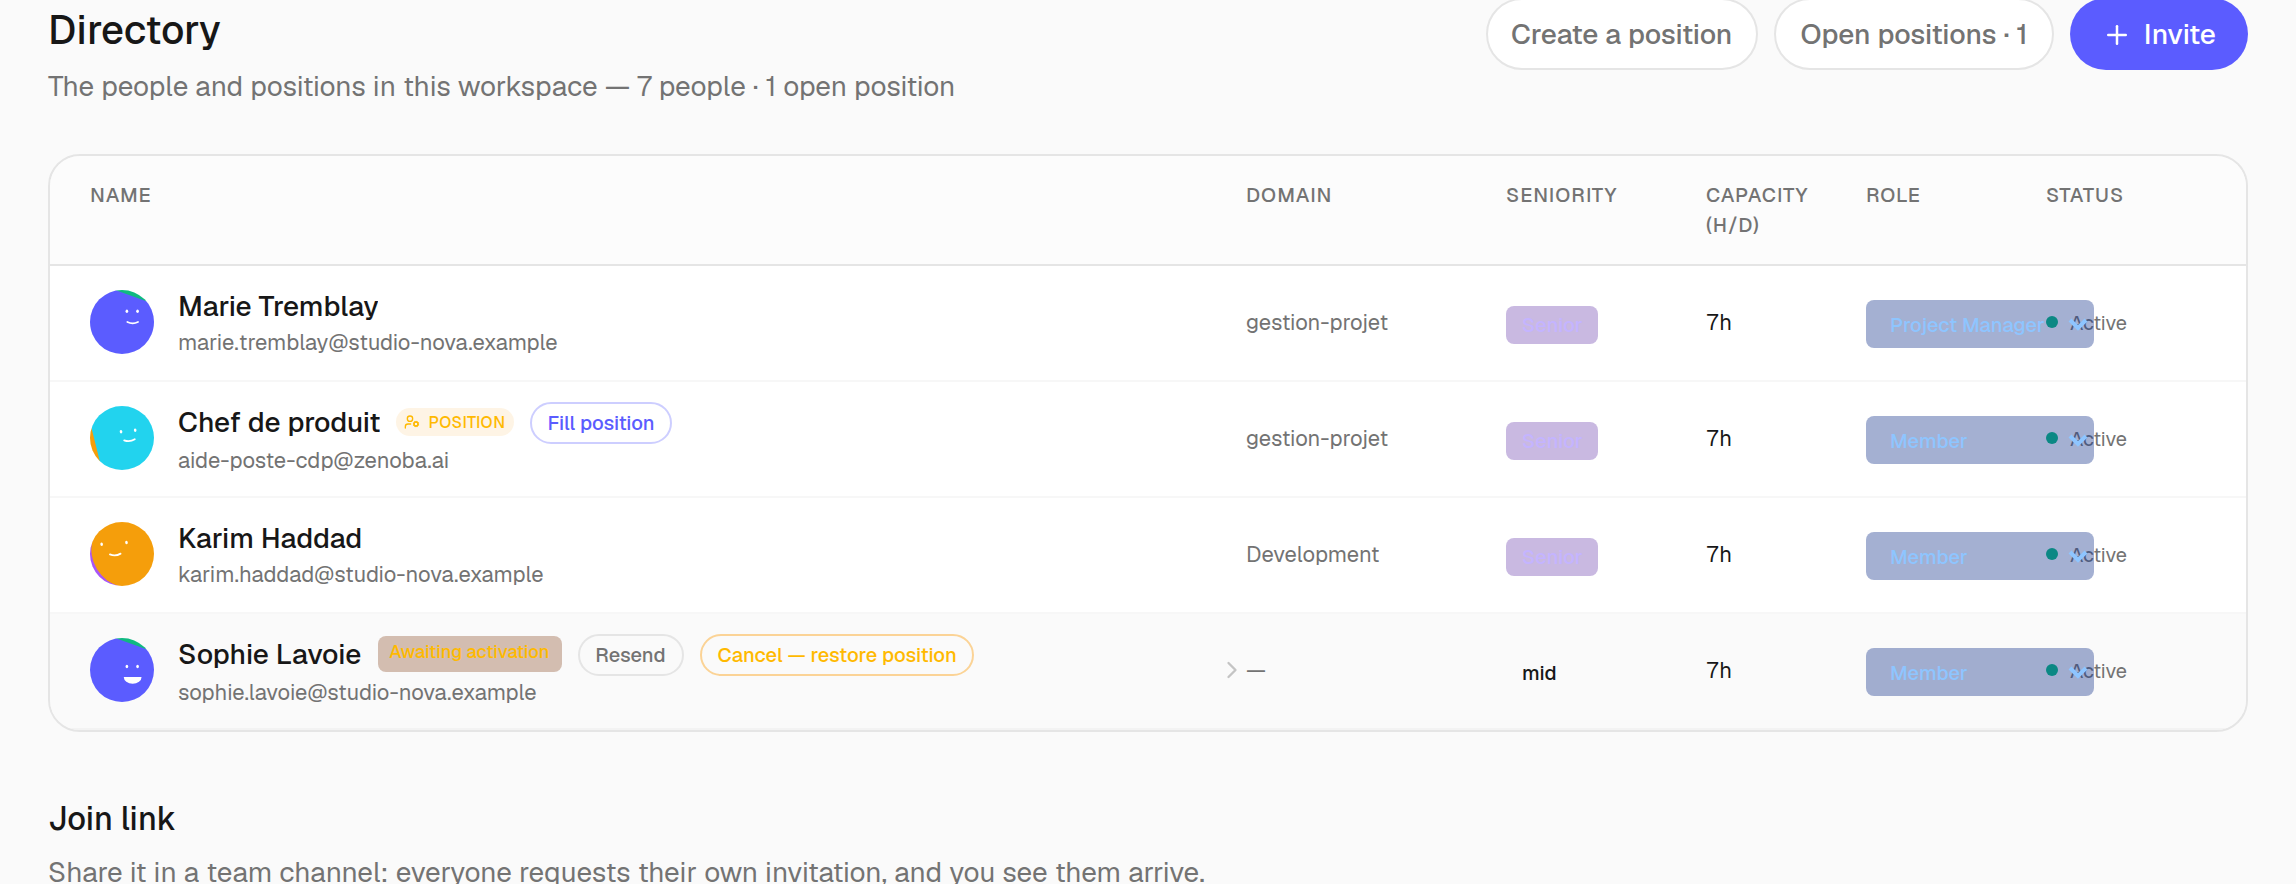
- 1This badge says: a seat, not a person
- 2One click to find it a holder
6 · Assign and track
the essentialsGive a task to a position, read the workload by domain, see what still has nobody and when that becomes a problem. This is where the plan becomes a commitment.
You now know you need forty days of development in March. That is what you need in order to hire, not after.
Done when a task is assigned to a position.
- 1.Assign someone from the workspace directory: domain then person
- 2.A POSITION (“Profile” badge) is a chair, not a person: “Fill” invites someone to take it
- 3.A “Pending” invitee can be resent in one click; they arrive with the position's work
- 4.“Remove from project” affects only this project; for a workspace departure, open the person in the Directory
- 5.“Team history” keeps arrivals, roles and removals; the histogram shows overloads
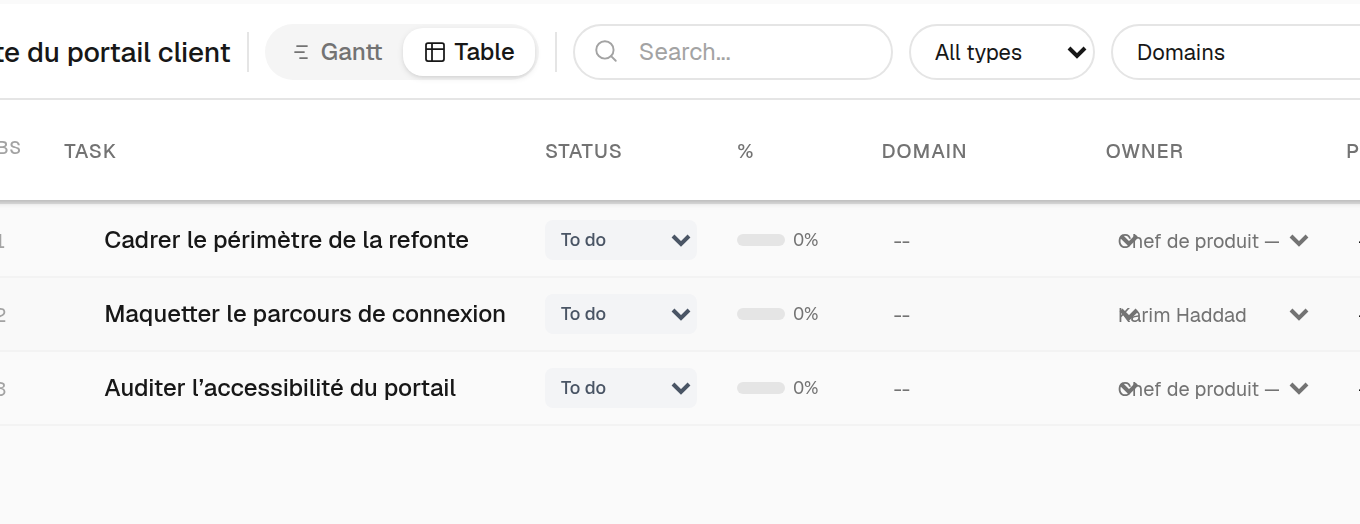
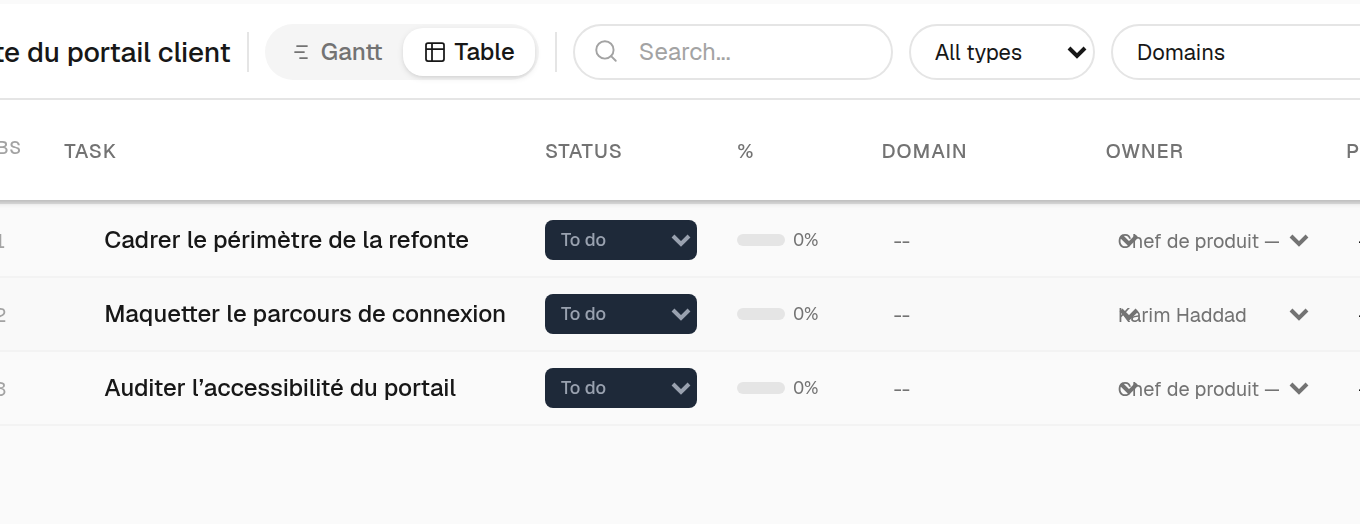
- 1The assignee is a position — the task is planned, not yet handed over
7 · Your words, not ours
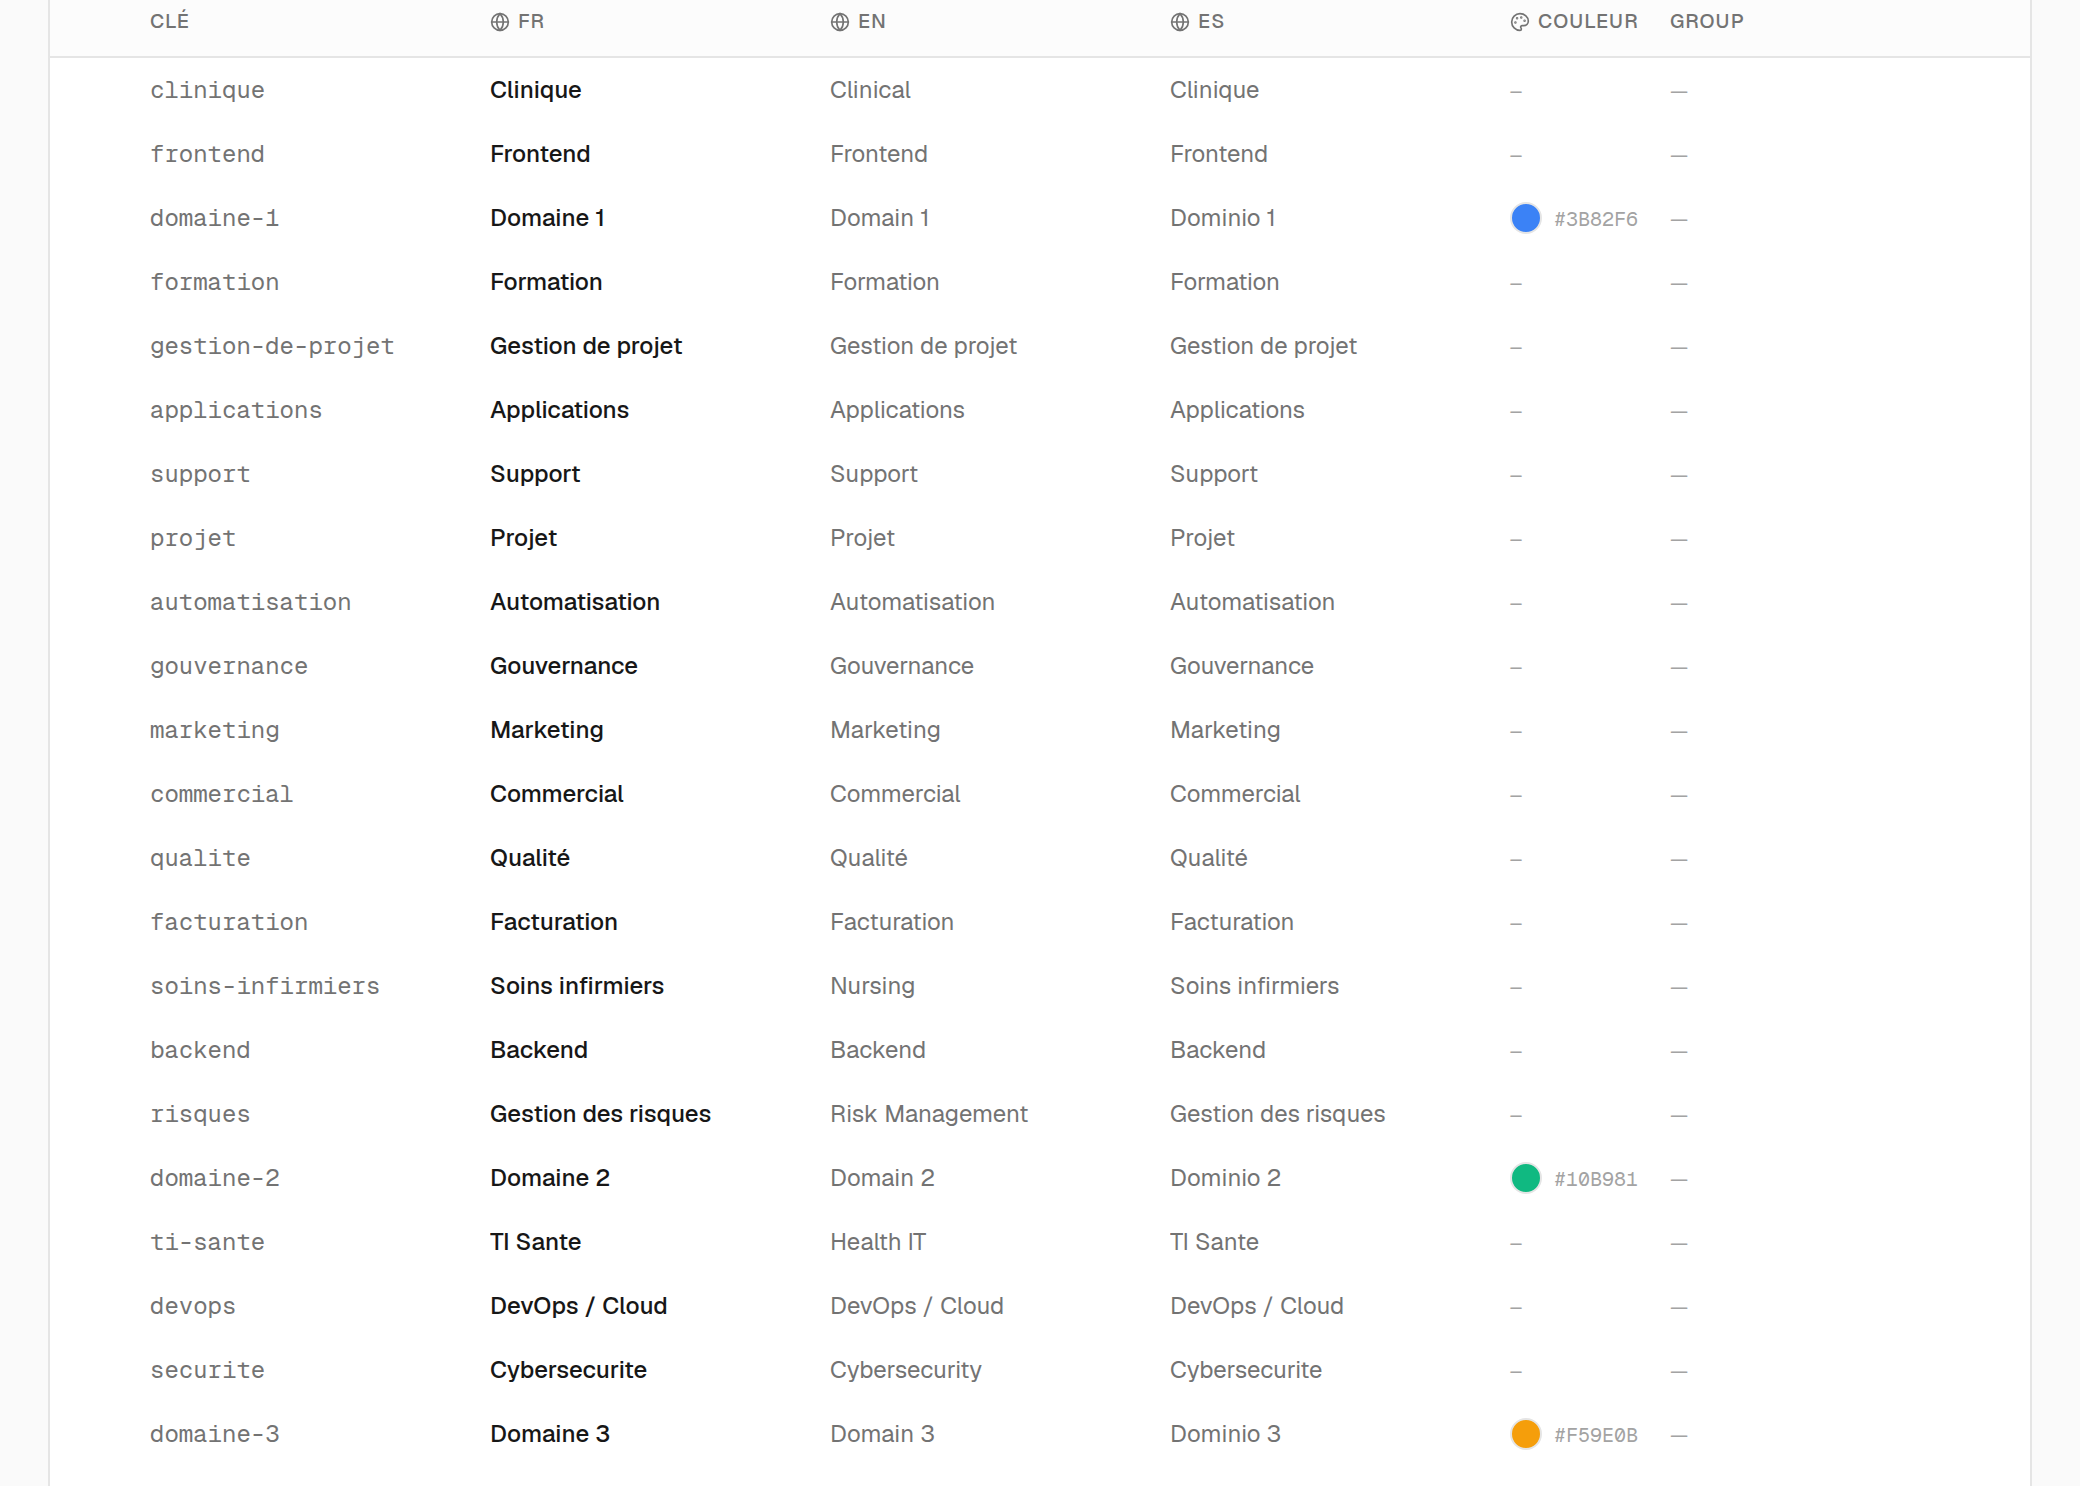
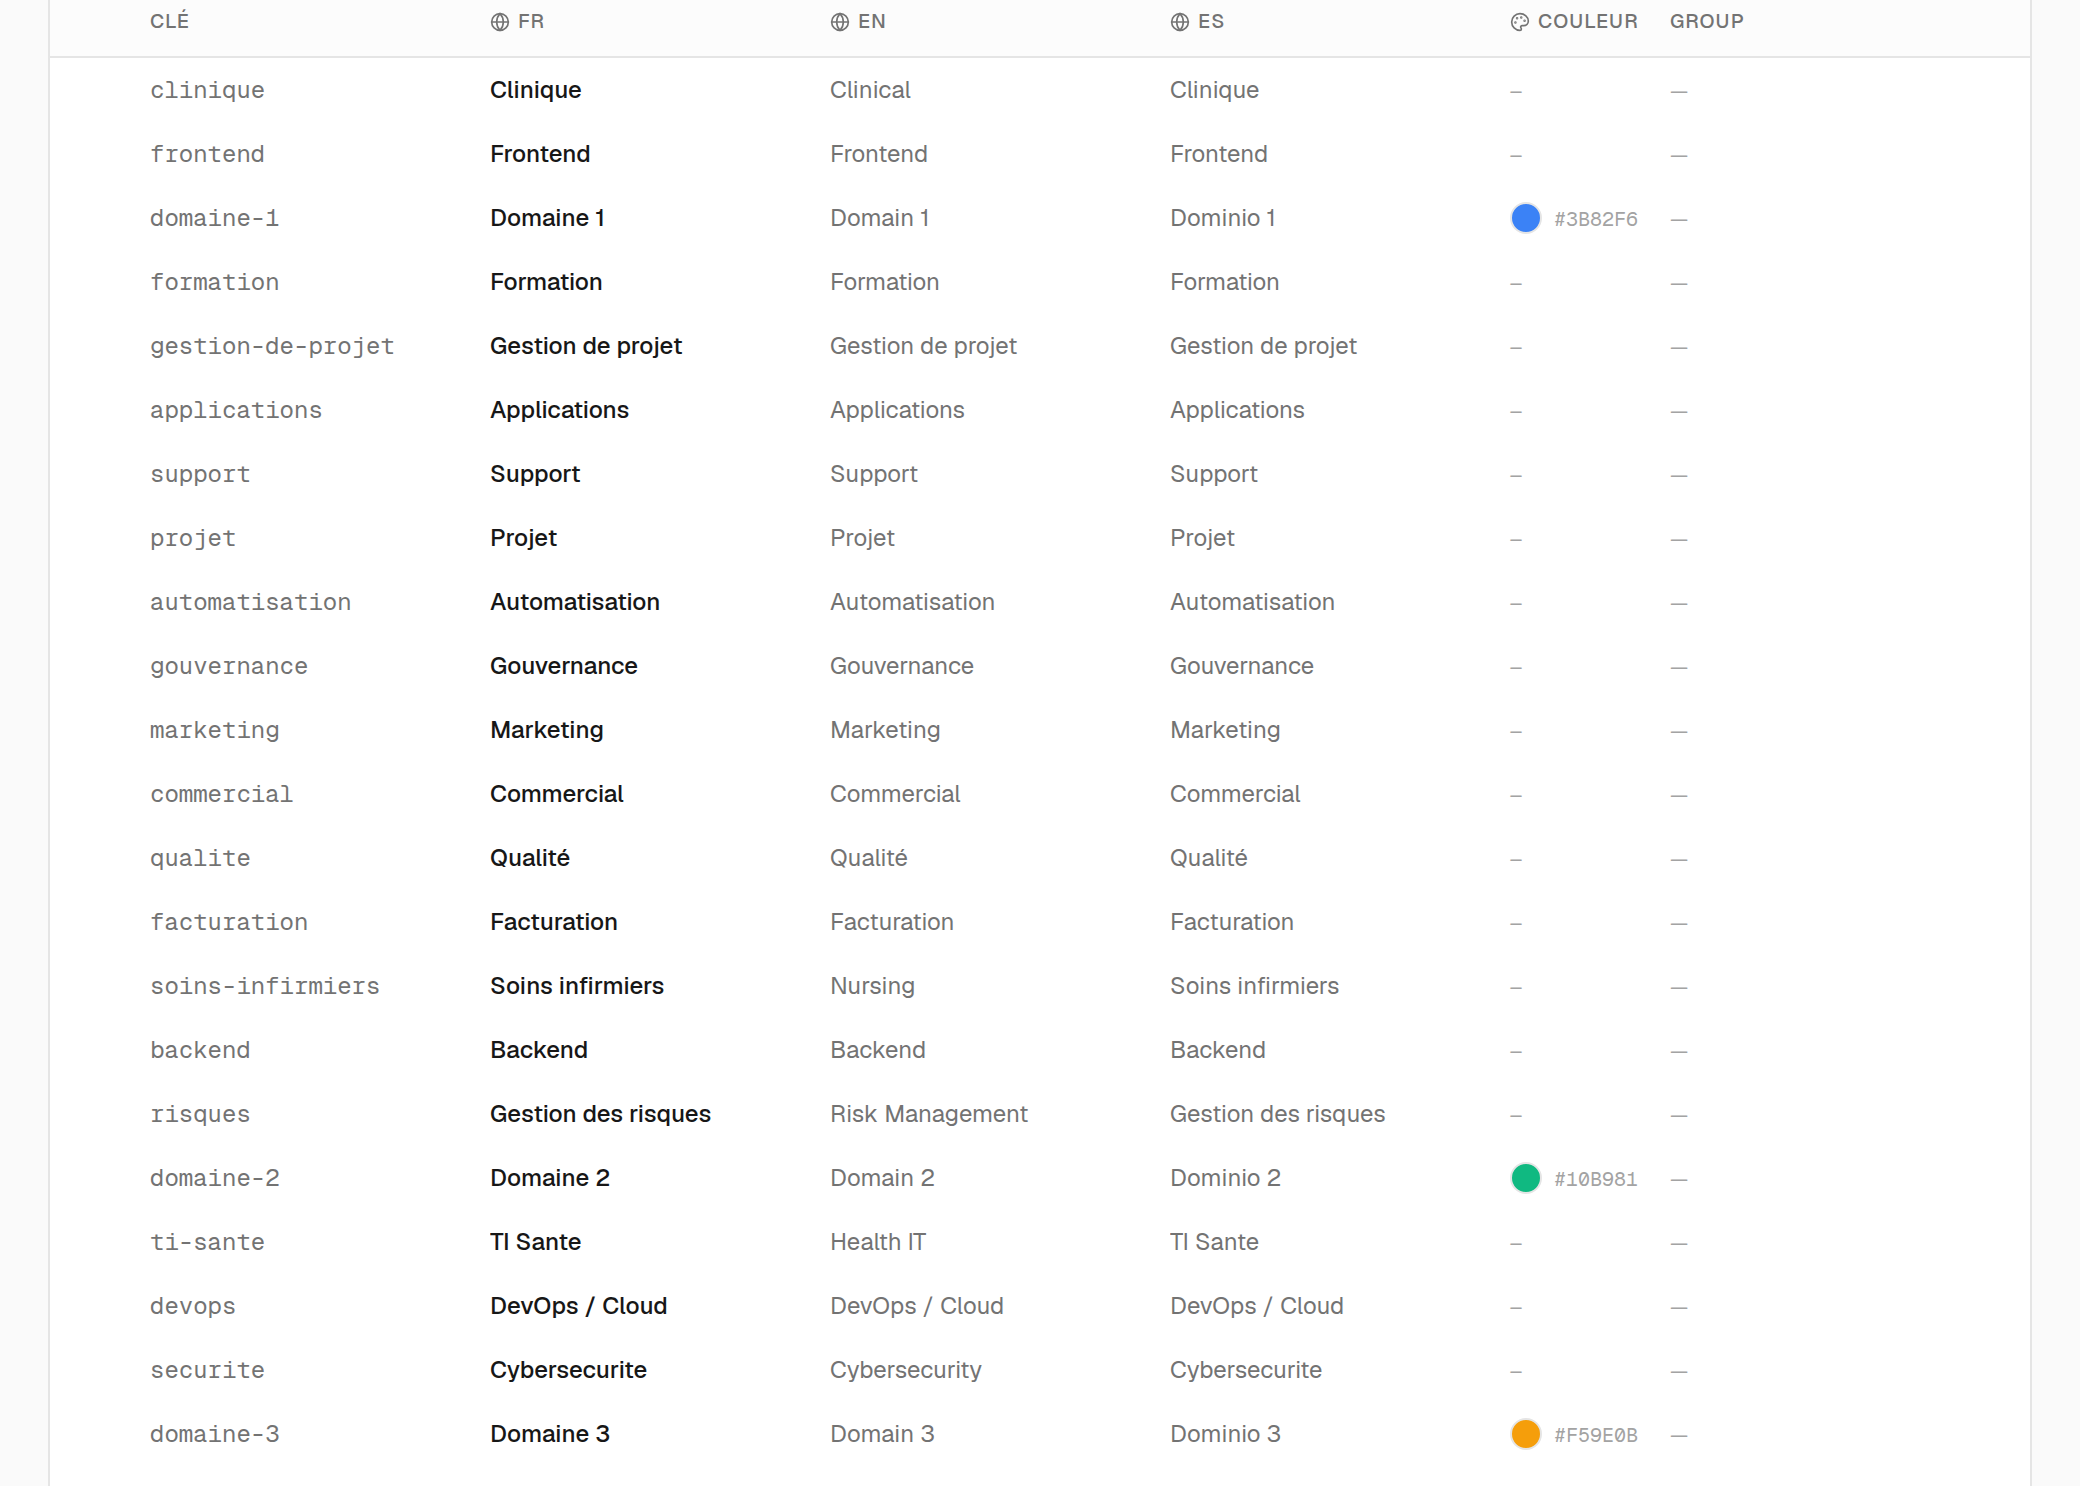
Domains, stakes, statuses, units: these lists decide the vocabulary the whole product then displays — the Gantt, the Kanban, the filters, the reports. A workspace that keeps the demo values speaks a language that is not its own, and every task filed there carries someone else's word.
- 1.Add a value with its technical key and FR/EN/ES labels
- 2.Reorder by drag and drop
- 3.Deactivate rather than delete a value in use
- 4.Colours are used in the Gantt and Kanban
The rest is learned where it matters: staffing requests, someone leaving, the team's history live in their screen's help panel, at the moment the question comes up. Putting them here would make a seventh chapter, and a journey nobody finishes.